Oh yeah, this needed to happen

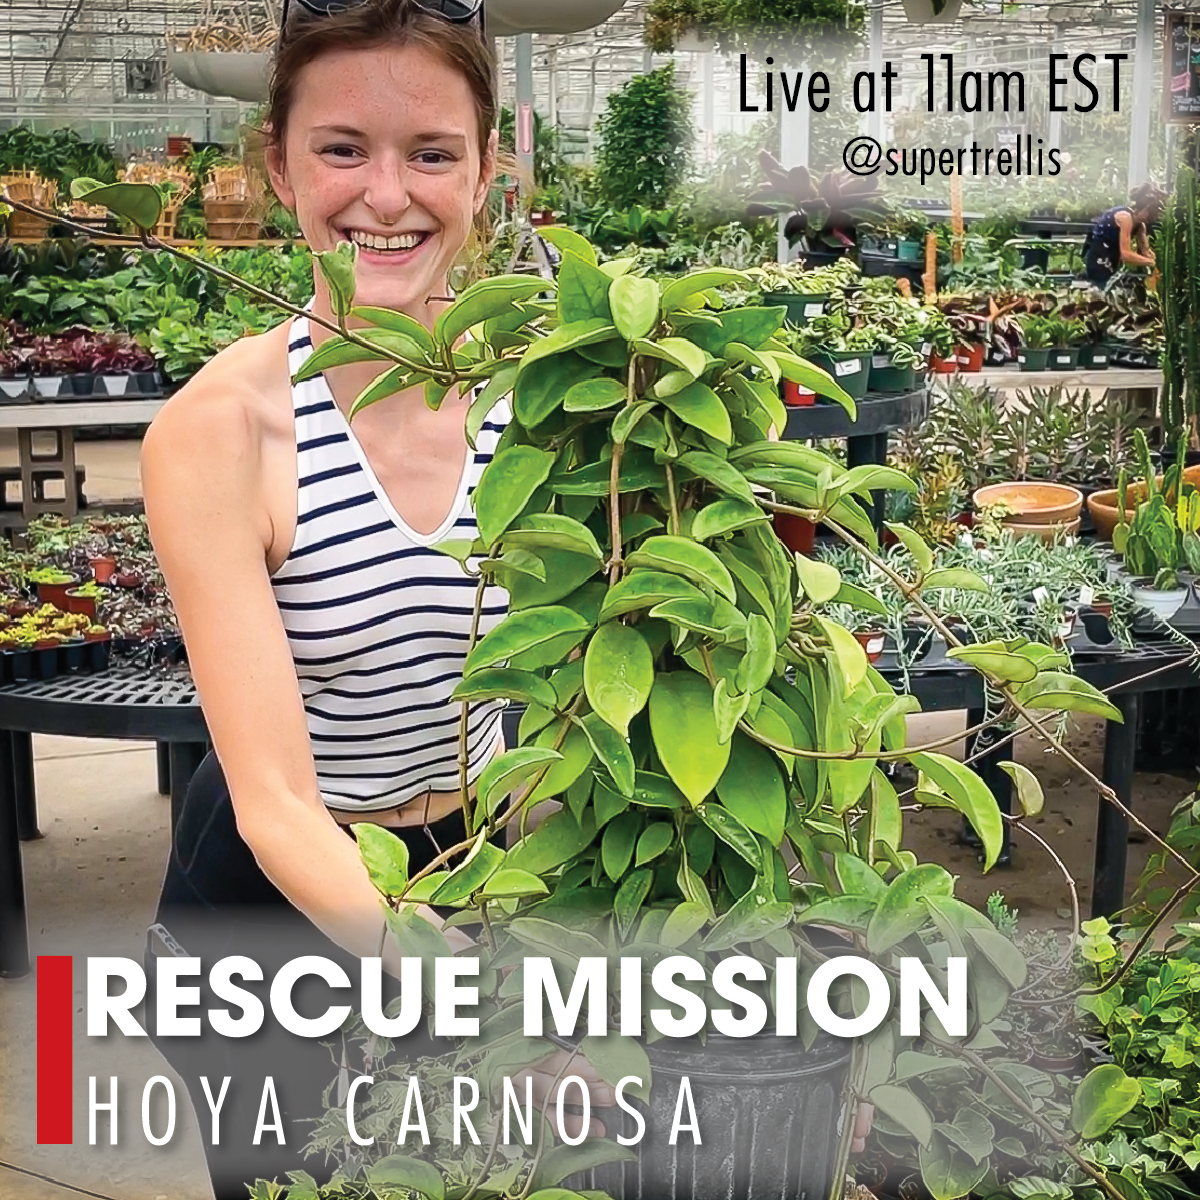
Recently we purchased a mature Hoya carnosa from our local nursery. The plant had outgrown its wooden trellis and was shooting off vines that were more than three feet long. We thought it would be a great opportunity to put everything we have learned over the last year to the test.

Repotting
The first step in trellising this hoya was repotting it. It was overly root bound and we needed space for a new trellis.


Our new cache pot would be 10 inches in diameter, about 2.5 inches wider than the original cache pot.
Our intention is for this plant to live in this pot for at least 2 more years. Recreating an environment that mimicks natural soil filtration was a priority for this plant. The extra space in the pot would be enough for the plant to grow into, but not too large that the plant would suffer. Hoyas generally like to have a tightly bound root mass.
How to:
The first step is to make a 1” layer of river rock, followed by a 3/4” layer of sand. Press the sand into the rocks, making sure any large crevices have been filled. Water the sand thoroughly, and add additional sand if needed. Here is some info why we do this.


After we have created our stone and sand filter, we added medium to the bottom of our pot. This allowed for the plant to be stable on the new bed of soil.
The medium mix for this project is Organic Mechanic soil and Coco Coir for the bottom portion of pot. This mix mimics the natural composition of soil in the tropical rainforests where Hoya grow naturally. Our goal for this project is to create a great environment for this Hoya to thrive for years to come.


Once the new pot was about half full of soil medium, we started getting ready to build the trellis. For this tower we were able to get a 2x2 base to fit. Luckily enough the base assembly will fit in 1-2” below the lip of the pot and allow us to bury it in soil. This is the best way to start a tower and ensures the tower will remain rigid for years to come. Read more about this best practice.
The previous owner of this plant used a 1.5” piece of wooden dowel as the trellis. They stapled the vines to the dowel with hoop staples. We needed to trim all of these off with a pair of snips. If you’re taking on a project like this, make sure you have sharp snips and a pair of gloves to protect your hands!

Removed the Hoya from its original pot and inserted it and the base assembly into the new pot in one step. The root mass was left mostly intact. We only massaged the roots a little bit to break up the soil. Holy heck this thing is a beast!

Packed in the soil mix making sure to remove excess water from the coir. We don’t want to coir to immediately start to decompose. This would lead to rotting in the soil.
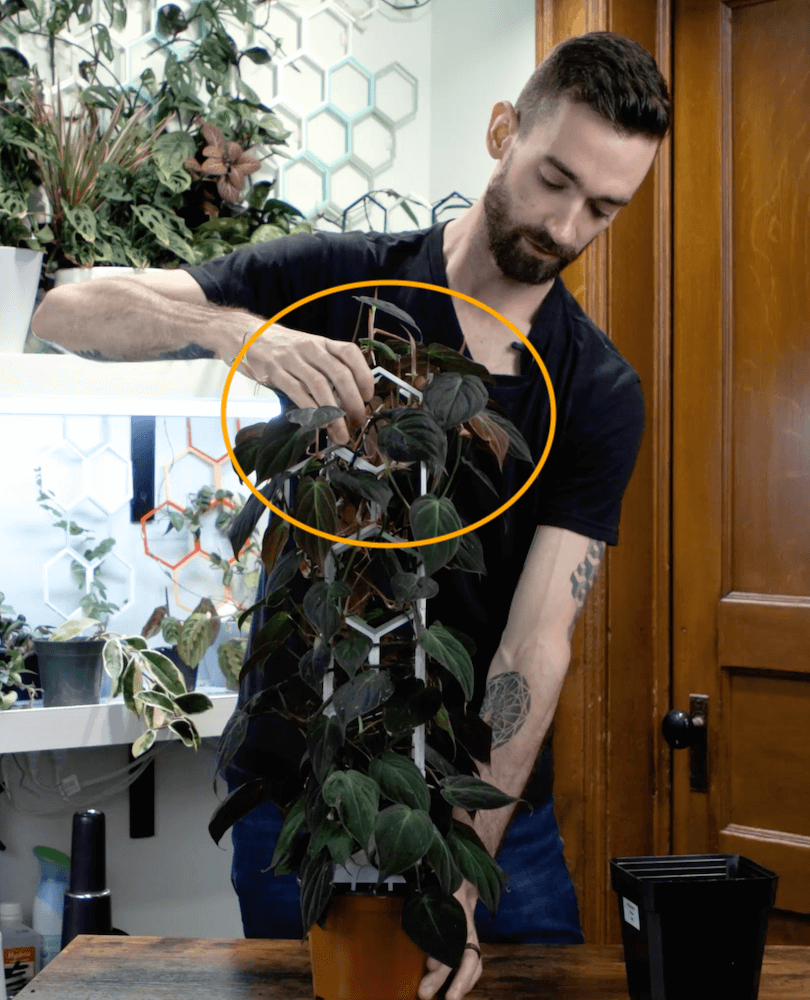
Spent a lot of time carefully weaving the vines through the hexagons and making sure not to damage any leaves. We found it went the smoothest if two people worked on one vine at a time. One person compressed the leaves while the other held the hexagons and fed the vines through.

A lot of these vines were actually growing in two directions. Once they topped out on the dowel rod, they grew back toward the ground. Because of this, we had to be extra careful to support the vines as we were build the trellis. Once we got to the turnaround point of each vine, we let it weave back through the trellis toward the ground. This allowed us to really fill up the trellis for the bottom 50%. The vines naturally wanted to wrap around the trellis so we let them tell us how to proceed.
The final result is quite striking. The entire package is putting off this “waterfall” vibe. Leaves spilling out of the trellis and flowing back down to the ground. We’re super excited to watch this plant grow over the coming years.
The biggest takeaway from this project was what happens to these types of plants when they are not actively maintained on a trellis. The vines that shoot off the plant become quite leggy if they are not supported. The two photos below compare the vine length between nodes.


As you can see, where the plant was tightly anchored, the length between nodes was very short. The second photo has nearly five inches between nodes. This is not necessarily unhealthy, but for the most part it's not what most growers want to see.
If you enjoyed this recap, drop a comment below. We love building these trellises, especially for Hoyas. Stay tuned for an update in a few months!


Leave a comment
This site is protected by hCaptcha and the hCaptcha Privacy Policy and Terms of Service apply.