General Set Up Guide
This guide has important information on how to set up Super Trellis.
The information in this guide can be applied to common indoor species.
Check out our resources page for in depth species specific guides.
This video includes everything on this page.
Product Overview
Packaging

NEW Packaging for version 2.0
Reusable and recyclable
Bases and Stakes
Base parts fit into any size pot.
Removable stakes accommodate sharp angle planters.
Modular Design

Hexagons snap onto each other to create a freeform honeycomb trellis.
Build around your plant to support each leaf. As the plant grows, it will consume the trellis.
Awesome results
We include the results as a feature of our product.
It works and we're proud of it.
Packaging
Compostable

The packaging is made from PLA and Kraft paper.
PLA is compostable but this doesn't mean you can throw it on your lawn as fertilizer.
Our packaging can be disposed of at your local composting facility. If you have a compost set up at home and know it will break down, go ahead and toss it in. If you know, you know ;)
Tear open

Rip open the package at the very top. Try and remove as little as possible for the next step.
The package has a tear tab that makes it easy to open.
Save for later

Don't throw the package away until you have finished your work.
The pouch is great for storing unused parts for the future.
Hexagons
Shape & Size

The hexagon is elemental in life. It's everywhere and everything.
Our hexagons are sized 4" x 3.5" which is the perfect size for vines. This leaves enough room for them to stretch out, but not so much that they become leggy and thin.
Vines

Most vines are always moving... slowly.
They rotate and move around in search of something solid to grow onto.
When they contact an edge a hexagon they will begin wrapping around and growing toward a light source.
Symmetry
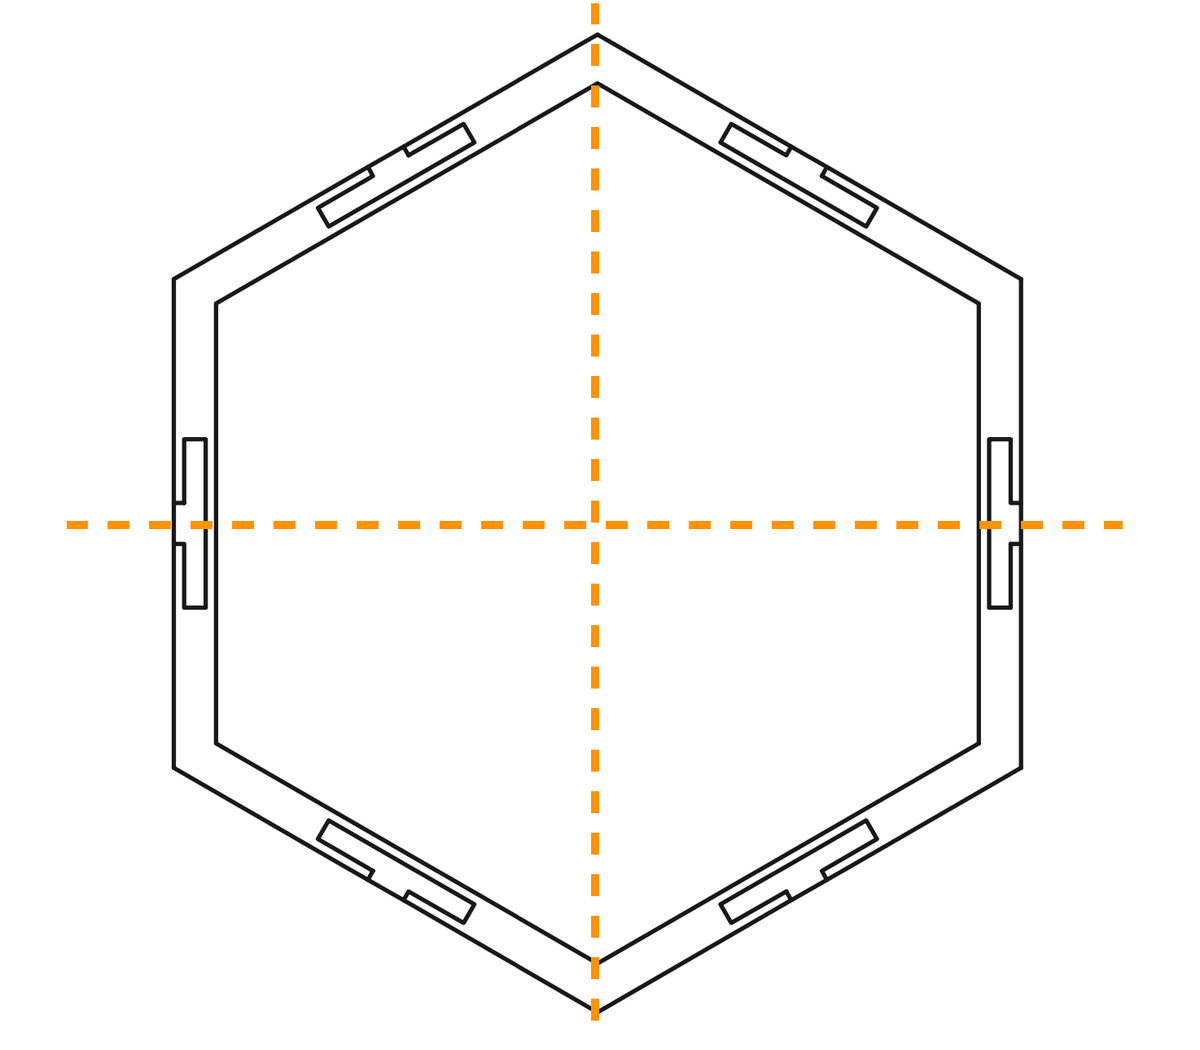
Each module is completely symmetrical. Each side is the same.
This means you can connect any side to another. No need to worry about messing up this part.
Connections

An H-Connector needs to be placed in each hexagon before you can connect them.
All of these parts are the same and can be placed into any hexagon or base part.
Pressing in these parts with the crimp tool is sometimes necessary. The fit is supposed to be tight.
Base Parts
Bases
Each base is approximately 3.5" wide.
There are two holes on the bottom for the stakes.
There are two points at the top for the first hexagons to snap in.
Stakes

Each stake is 3.5" long.
Stakes will stick out of the bases by about 2"
You don't have to use both stakes if your pot size won't accommodate them.
Using stakes

You have options with the stakes.
Use one stake per base if you have a small pot or one with angled sides.
Trim off the barbs on the stakes if they're pressing into the pot.
Big pots

If you have a 10" pot or larger, you might consider burying the bases below the soil.
Doing this will give you the sturdiest foundation possible.
Over time roots will grow around the bases and hexagons and they'll become one!
Step 1: Foundation
Base

Connect your bases and stakes.
Test fit them with your pot to make sure that they will fit.
Make adjustments based on the previous section if you notice too little or too much space in the planter.
First row
It's usually best to attach your first row of hexagons to the bases before pushing the stakes into the soil.
This ensures that the base(s) are aligned properly and not crooked.
Straight bases make a straight trellis!
Angled or Totem

If you are building an "L" shaped trellis or a four sided totem, don't skip this step.
Attach the bases, stakes, and corners before inserting them in the soil.
Press the entire assembly into the soil with even pressure. Avoid pressing hard on one side at a time.
A little wiggle back and forth should be plenty to get the stakes to bite into the dirt.
Pressing in stakes
Grip the bases and stakes at the same time.
Pinch everything together and push straight down into the soil.
Once the barbs of the stakes flex inward, the stakes will slide into the dirt easily.
Over time the barbs will spread out and anchor into the soil around the roots.
Step 2: Build & Weave
Connectors
The connectors PRESS in and TWIST out.
Use the crimp tool to rotate the connectors out if you need to remove them.
Hexagons

Same for the hexagons.
Press in and twist out.
Grip each hexagon as shown if you need to disassemble anything.
Thread the Vines

Gently grasp a vine and a leaf.
Feed it through a hexagon and move on to the next node.
Take your time and be ready for leaves to get snagged. Don't force anything or you might lose a leaf!
Faces in or Out

Flat side of the hexagon facing out, the vine will end up BEHIND the hexagon.
Flat side of the hexagon facing the vine, and the vine will end up in FRONT of the hexagon.
This will alternate with each row.
Step 3: More Weaving
Leafs Up!

Your goal is to get each leaf facing up toward the light source.
This isn't a hard rule, but definitely a guiding principle.
Leaves will turn on their own over time, but you want to give them the best start possible.
No force

Let the vines tell you where they want to go.
You can't force them to behave, right away.
After 1-2 days the vines will conform to their new shape and you can tighten up your trellis.
Let them breathe

It's ok to let the vines hang loose for a day or two.
They've spent a lot of time in their. current shape, you can't change them instantly.
This can be a multi day progression if you're patient. There's nothing wrong with going slow.
Soft Ties

Soft ties can be used whenever you need them.
They're a great tool to hold a vine just right during the process.
You'll likely be able to remove them once the plant "grows in" to the trellis over the first two weeks.
Step 4: Growth Phase
New Leaves
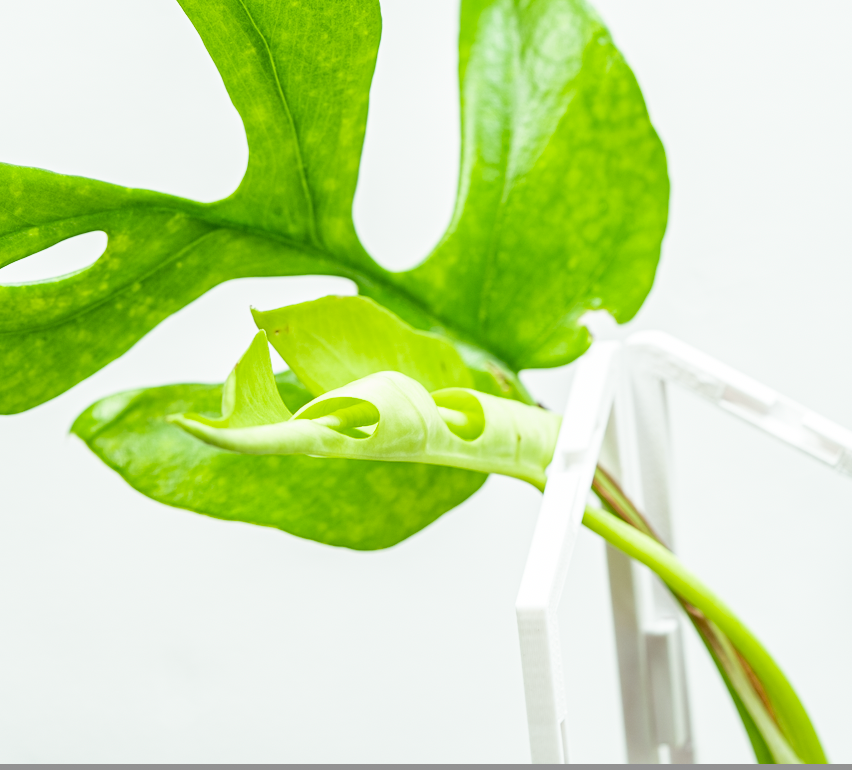
As the plant grows new leaves will pop up.
Guide the leaves and stems through the trellis, but don't assume they're going to obey right away.
Point the stems where you'd like them to go and see what happens!
Hook the Leaf

Once a leaf is fully unfurled, give it some time to harden up.
Then "hook" the leaf on the next closest hexagon. It should rest here and continue growing the net leaf.
Remember, plants won't grow leaves if their stems aren't stable. This is how vines get thin and leggy.
Don't do this

Avoid wrapping a vine around a hexagon without another one connected.
If a vine wraps around a hexagon by itself, you won't be able to snap on another one later.
You'll need to unwind the vine, which can be tricky or stressful to the plant.
Soft Ties

Useful when you are dealing with new growth.
Use a tie to hold a new vine in place if you don't have a leaf to hook on.
They can be removed periodically once the vine has anchored to the trellis.
Don't have a Super Trellis yet?
Check these out and get started today!
Free shipping
All orders over $50 ship FREE
Customer service
Join our user group on Facebook "Super Trellis Heroes" for support any time.
Secure payment
Safe payments via Shopify.